Restoring a vintage lighting fixture is more than just a repair project; it is a labor of love that preserves a piece of history. Whether it’s a family heirloom or a "lucky find" from a Parisian flea market, the goal is always the same: to return the piece to its former glory while ensuring it is safe for modern use.
In this case study, we walk you through a recent project involving a classic continental chandelier. The challenge? The fixture used the delicate E10 French GS (Grand Siècle) lamp holders, which require a much slimmer, more refined profile than the standard E14 sockets found in most UK homes.
Join us as we take you from the initial assessment of a crumbling original to the final, radiant "wow" factor of a fully restored masterpiece.
The Initial Assessment: Identifying the French GS Identity
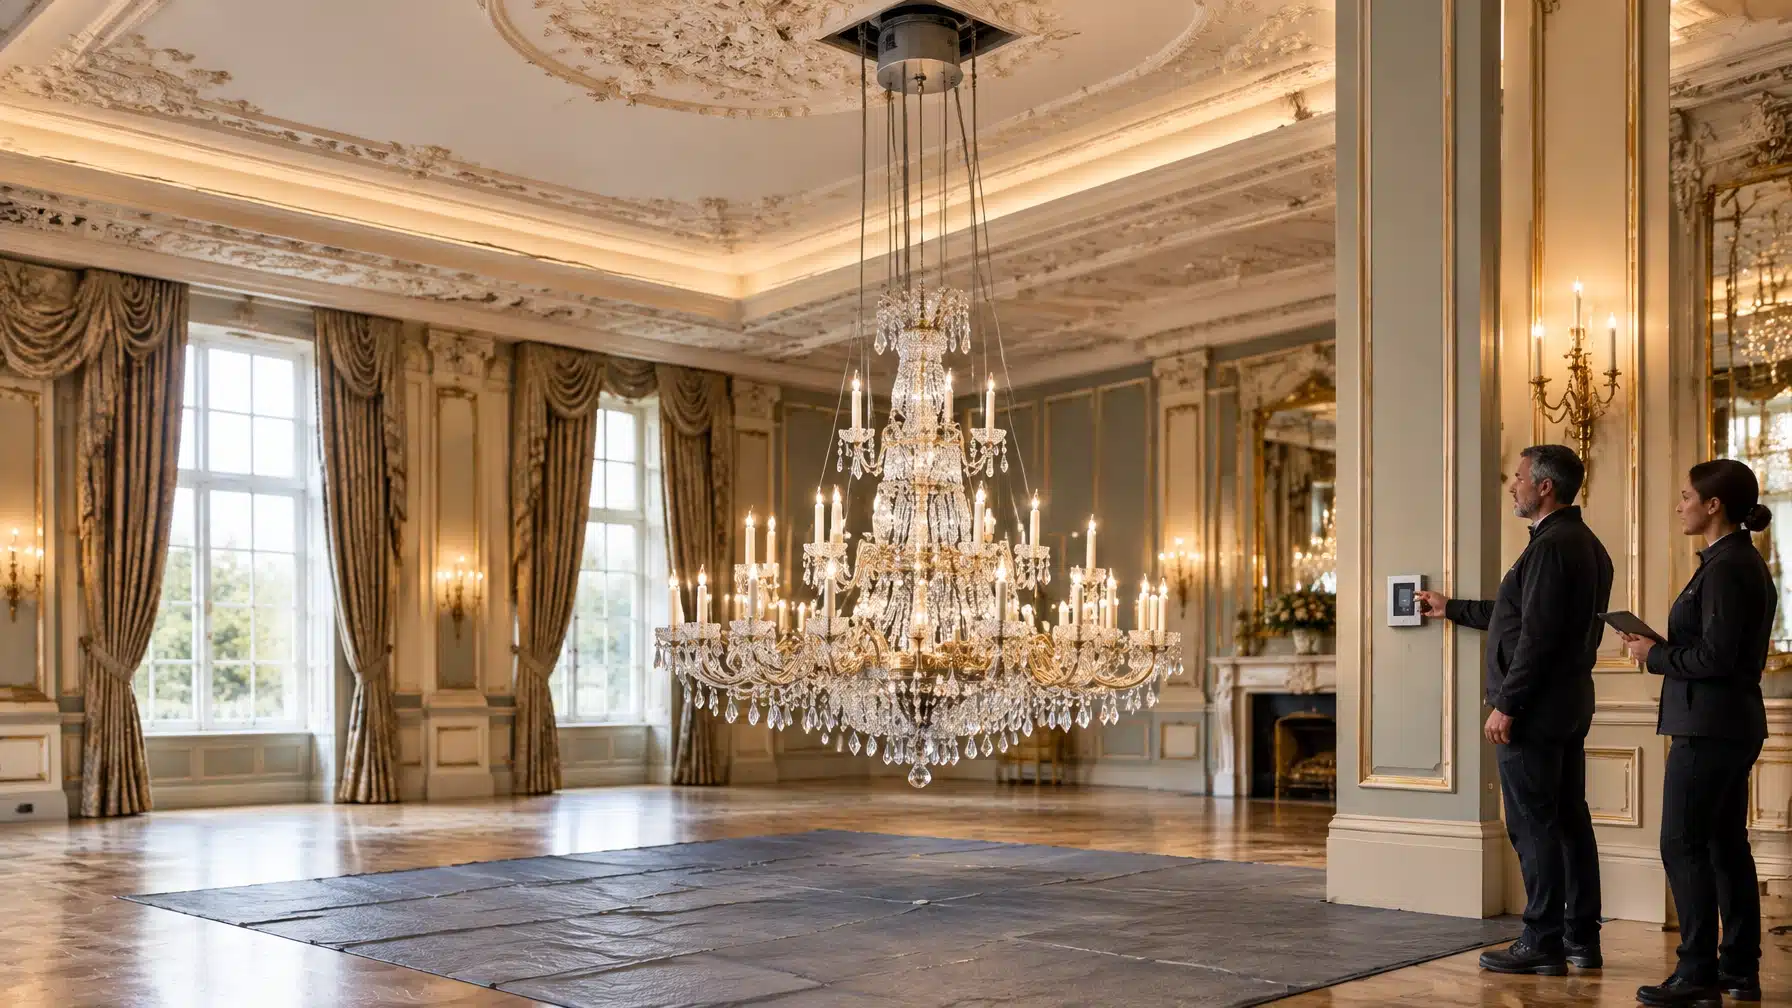
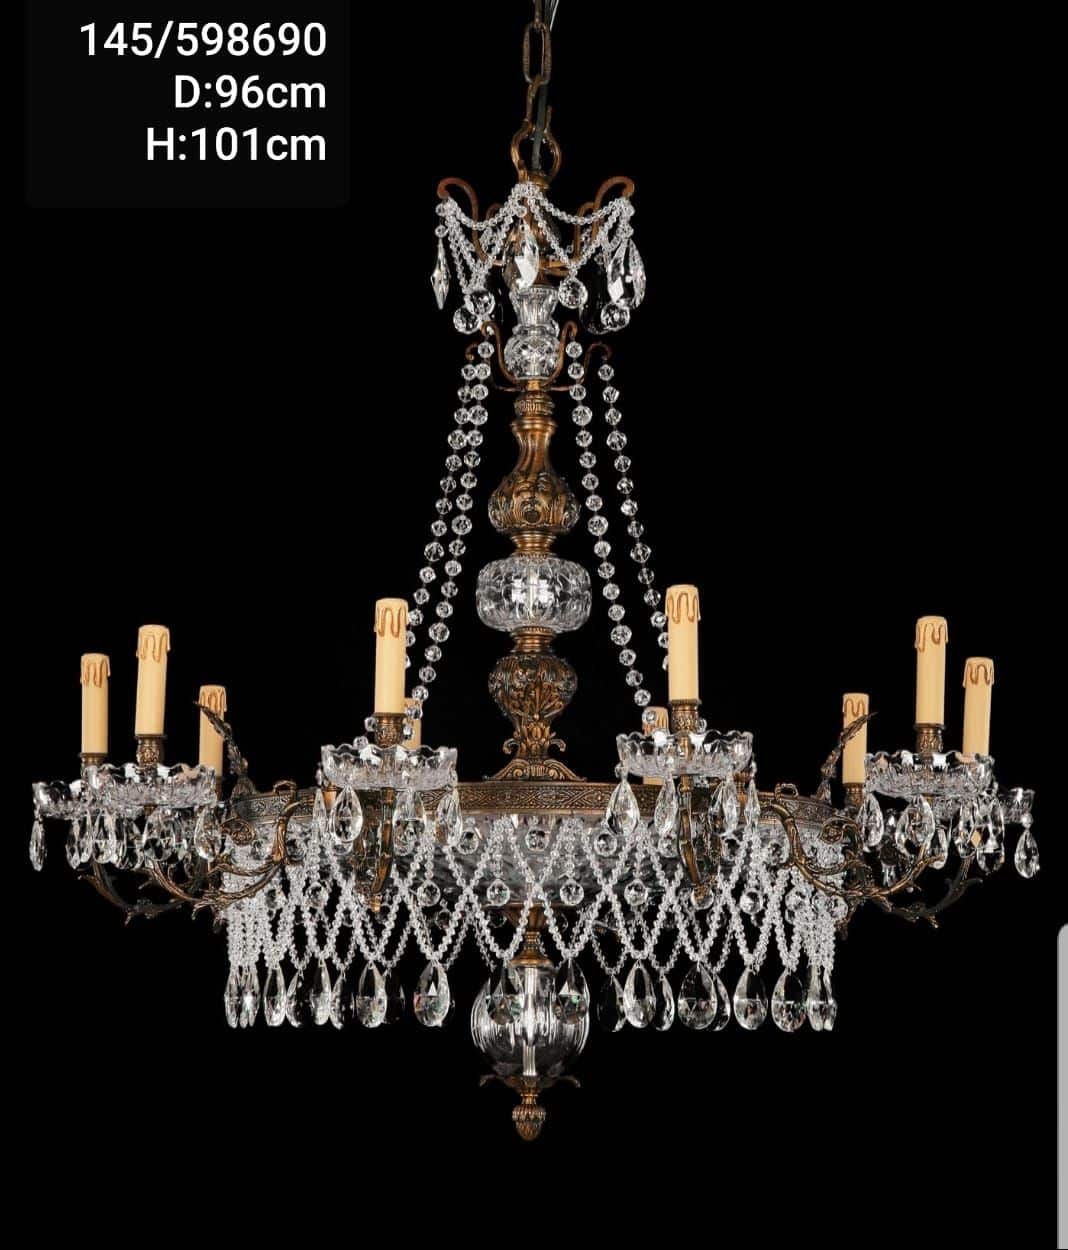
Our client came to us with a magnificent, twelve-arm crystal chandelier that had been passed down through generations. While the brass-work was still stunning, the candle sleeves (also known as candle covers or tubes) were in a sorry state. They were made of original, yellowed cardboard that had begun to flake and brown from decades of heat: a common and frankly "prudent" reason to seek a replacement.
The first step in any restoration is identifying the bulb cap code. Upon removing the old bulbs, we identified them as E10 / MES (Miniature Edison Screw). These are significantly smaller than the common E14 (Small Edison Screw) and are a hallmark of the French GS style. This meant we couldn't just use an "off-the-shelf" solution; we needed something bespoke that wouldn't overpower the chandelier’s fine, spindly arms.

Measuring the Original: Avoiding the "Nasty Pinch"
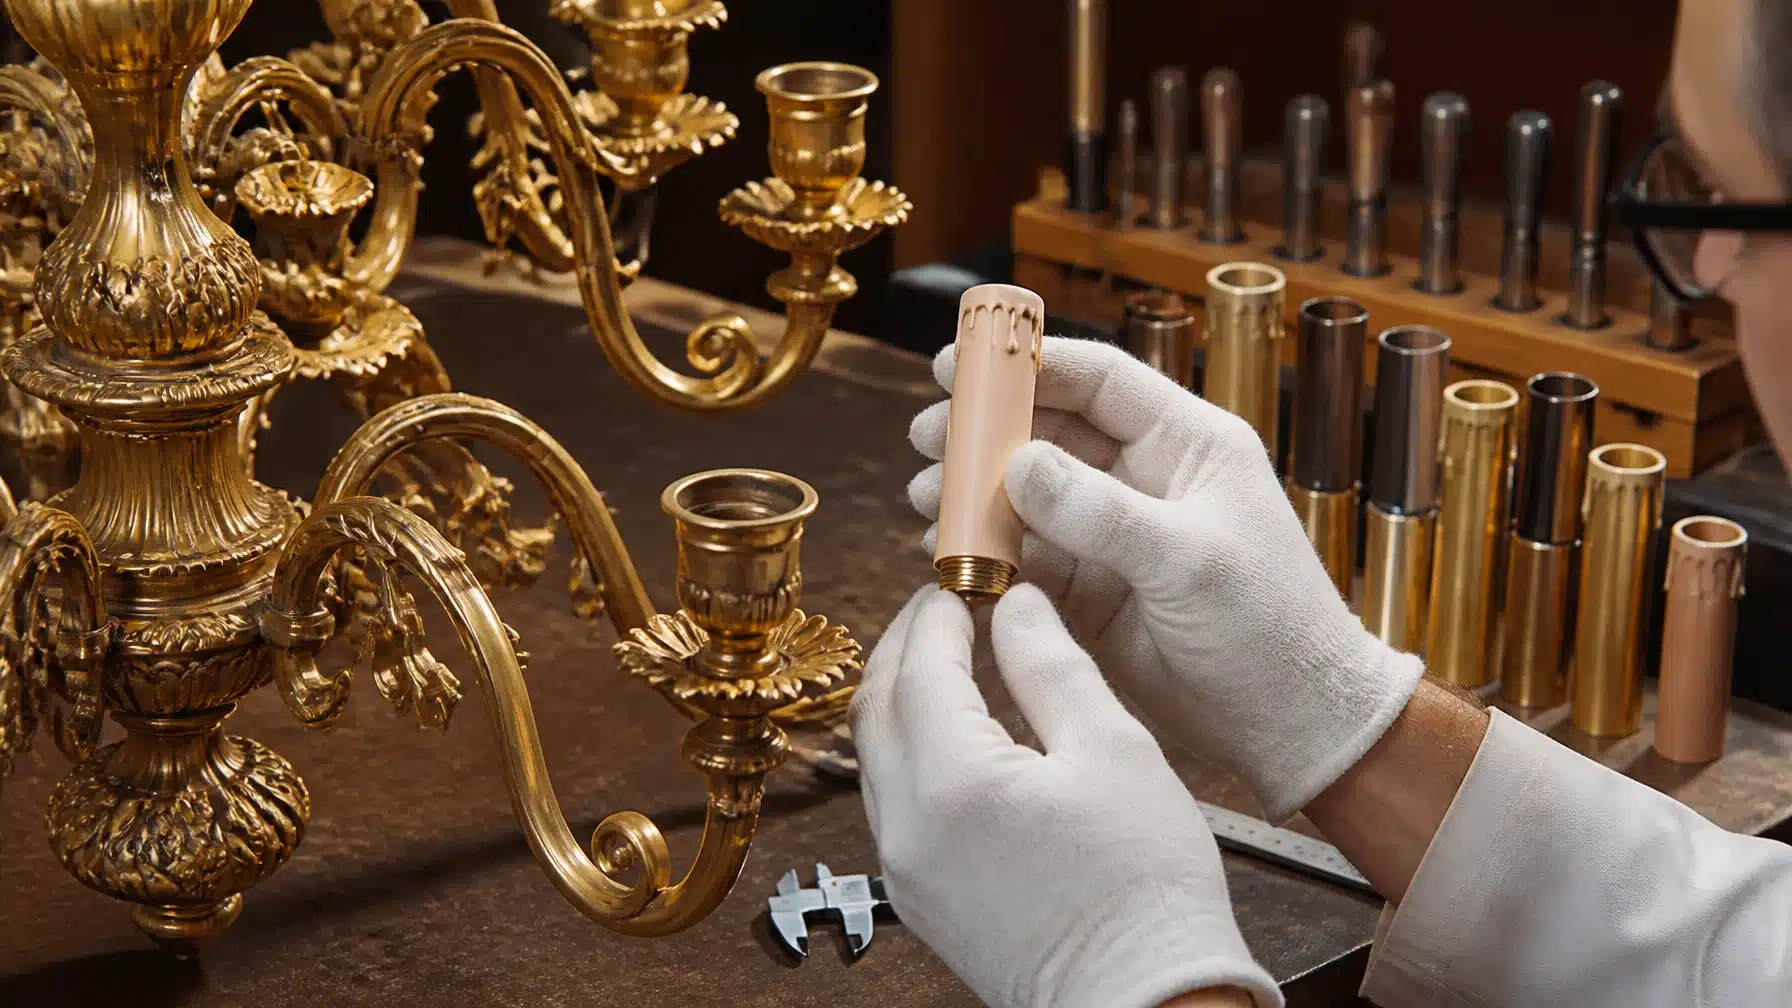
In the world of restoration, a millimetre is the difference between a "perfect fit" and a "nasty pinch" (where a tube is forced over a socket and eventually cracks). To get this right, you must measure the internal diameter of the tube, not just the outside.
We encouraged the client to use our specialized digital measurement service. Instead of guessing with a standard ruler, they sent one of their original, albeit battered, tubes directly to our UK workshop.
Why use our digital measurement service?
- Precision: We use digital calipers to measure to the nearest 0.1mm.
- Consistency: We ensure that every new tube in the set matches the original's profile perfectly.
- Expert Verification: We check for "lamp holder flare" (where the base of the socket is wider than the top), ensuring the new tube slides on smoothly without wobbling.
Selecting the Material: Card, Nylon, or Metal?
With the measurements confirmed, it was time to choose the material. For this project, the client wanted a look that was period-accurate but durable enough to last another fifty years.
We looked at several options from our range:
- Cardboard: Authentic and budget-friendly, but susceptible to heat over time.
- Metal (Gold or Bronze finish): Provides a lavish, high-end feel that complements the brass arms.
- Nylon: Our "knowledgeable expert" recommendation for this specific case. Our Nylon Candle Tubes offer the aesthetic of traditional waxed drips but are virtually indestructible and heat-resistant.

The client opted for our English Regency style in ivory nylon, which features a subtle, elegant drip effect that perfectly mimics a real beeswax candle.
Choosing the Right Height: The "Rule of Thumb"
One of the most common questions we get is: "How tall should my candle tubes be?"
For an E10 French GS fixture, the proportions are everything. If the tube is too short, you see the ugly electrical components of the lamp holder. If it's too tall, the bulb looks like it's drowning inside the tube.
Our Rule of Thumb:
Measure from the base (the drip pan) to the point where the bulb's glass begins. You want the top edge of the tube to sit just slightly below the "neck" of the bulb. This ensures the bulb appears to "grow" out of the candle, hiding the metal cap (E10) entirely.
For this chandelier, we settled on a bespoke height of 65mm. This height was carefully chosen to keep the bulb below the eye-line of someone sitting at the dining table, preventing any harsh glare while allowing the light to catch the surrounding crystals.

The Final Installation: Creating the "Wow" Factor
Once the bespoke tubes were manufactured and shipped, the final installation was a breeze. Because we had used our digital measurement service, the tubes slid over the E10 lamp holders with a satisfying, precise fit.
The client paired the new sleeves with warm-filament LED bulbs. The result was transformative. The ivory nylon gave the chandelier a refreshed, clean look without losing its antique charm.
Top Tips for Your Own Restoration:
- Work Bottom-Up: When dismantling for cleaning or restoration, start with the bottom crystals and work your way up to avoid accidental breakages.
- Safety First: Always ensure the power is off at the mains before removing any sleeves or bulbs.
- Consistency is Key: If you have a matching set of wall sconces in the same room, be sure to order tubes for those at the same time to ensure a perfect color match across the entire space.
Conclusion: A Fixture Reborn
Restoring a chandelier is about more than just light; it’s about atmosphere. By choosing the correct lighting components, such as the specialized E10 French GS sleeves, you preserve the visual integrity of your fixture while making it a focal point of your home once again.
Are you ready to breathe new life into your lighting? Whether you are a professional interior designer or a DIY enthusiast, we are here to help you find the perfect fit.
Peruse our full range of bespoke candle tubes and restoration parts at our dedicated sites:
- www.candletubes.co.uk (UK & Worldwide)
- www.candletubes.com (North America & International)
- www.candletubes.eu (Europe)